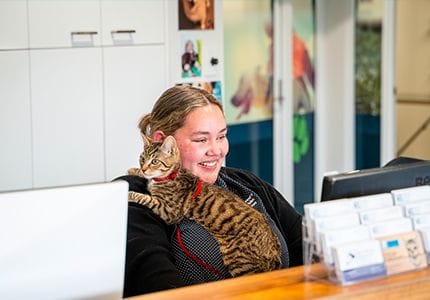
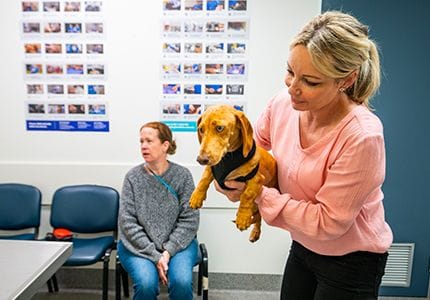
Dr Briannan-Kym Kane demonstrates how to apply a Libre Sensor to a patient. Libre Sensors are used to monitor a pet's glucose levels, to help keep their diabetes under control.
What you will need:
- Your Freestyle Libre Sensor (as well as other contents from the packaging like alcohol wipes and
the applicator)
- Clippers to trim pet’s fur
- A strong adhesive like super glue
Where to place a Libre Sensor on a dog:
The positioning of a Libre Sensor is patient dependent. Usually, Libre Sensors are placed on the neck of the patient or over the shoulder as they can be easily secured with bandages.
Steps to apply a Libre Sensor:
1. Locate where the Libre Sensor will be placed.
2. Clip an area of fur
3. Prepare the area by cleaning the skin and clearing it of dirt and loose fur. Then, use the provided alcohol wipe to sterilise the area.
4. Make sure the skin is dry, then prepare your Libre Sensor by loading the sensor onto the insertion device.
5. Put a very small amount (a few drops) of adhesive around the disc (2mm in diameter).
6. Hold the pet steady, then hold the applicator up to the area and insert the device by clicking it down (the noise can startle pets, so hold them and comfort them to avoid injury or
misplacement).
7. Remove the applicator by gently twisting and removing it. Ensure that the sensor is attached to the pet and secure.
8. Turn on the reader and select “Start a new Sensor”, then wave it over the applied sensor until you hear a notification noise (usually a beep).
It will take 60 minutes for the sensor to link, and after that, it will be ready to scan and read the results. You can scan the results as often as you like. We usually recommend reading patient results at least twice a day to pull data from the sensor before administering insulin (to make sure it’s appropriate to give)
)
